 |
Note: Any instructions with [brackets], refers you to the Technique Page in the Library of this site for printable free how-tos. ~~~ The initial
block can be incorporated into any quilt.
|
|
Finished
Lap Quilt Size: 48" x 48"
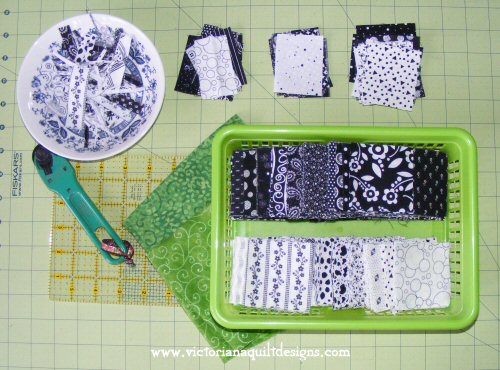
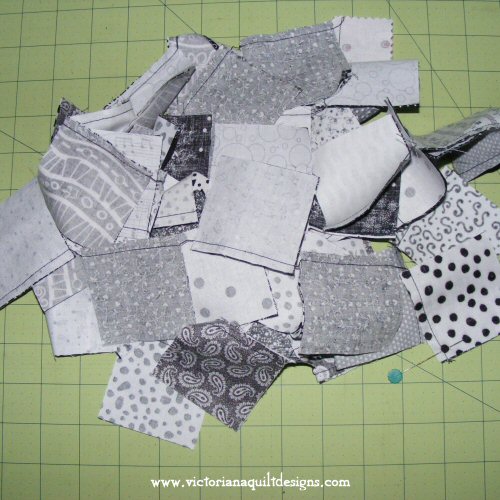
1. Cut fabrics Dark
+ Light [Rotary Cutting] fabrics into
2½" squares.
2. Sew the dark &
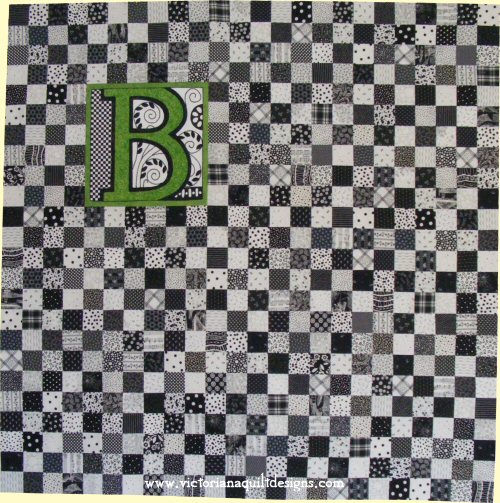
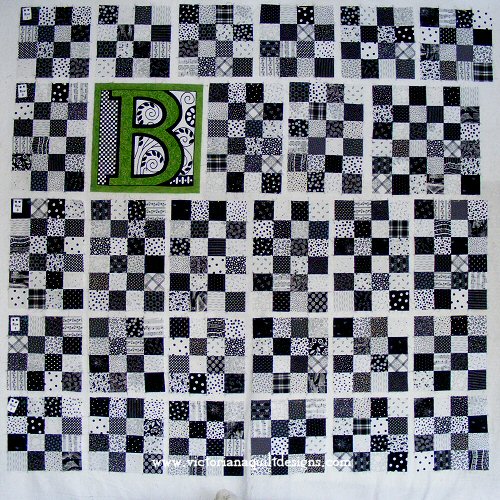
light squares into pairs. 3. Pair each pair and sew them together, matching the seams, into 4-Patch units. 4. Lay out the units, into larger blocks, as follows below:
[Use the photo above as a guide.] Row #1: Each of the 6 16-Patch blocks contain 4~4-Patch units. Row #2: 3 24-Patch
blocks each containing 6~4-Patch units. Row #3: Each of the 6 24-Patch blocks contain 6~4-Patch units. Row #4: Each of the 6 16-Patch blocks contain 4~4-Patch units. Row #5: Each of the 6 16-Patch blocks contain 4~4-Patch units. Sew [Machine Piecing] the units and blocks together, matching the seams.
~Sew the rows, matching the seams.
|
|
|
~Members Only~ Content & Graphics © 2001~ Victoriana Quilt Designs All rights reserved. Unauthorized use is strictly prohibited. Welcome | Victoriana Quilters | Block of the Month | Pattern Page | Library | Membership Schoolhouse | Gallery | Sharing | Feedback & Links
|