 |
|
|
|
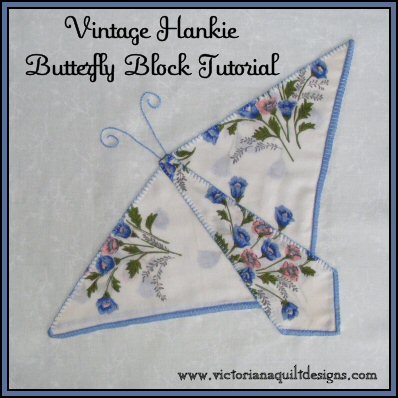
Finished Block Size: 12" x 12" Examples of quilts that use vintage hankies/handkerchief can be seen here. *For a tip about printing this page, click here.
~For each Block~ One
Handkerchief
13"
x 13"
Tone
on Tone White Background Fabric
Matching
Embroidery Floss
Any instructions with [brackets], refers you to the Technique Page in the Library of this site for printable free how-tos.
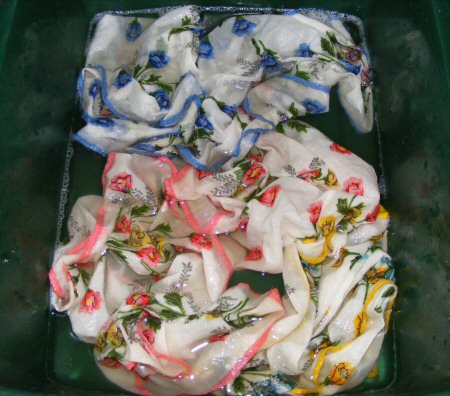
1. Using gentle soap, handwash the handkerchief you are using. Please Note: If you feel your hankie is too delicate to wash, perhaps you should reconsider using it for this quilt.
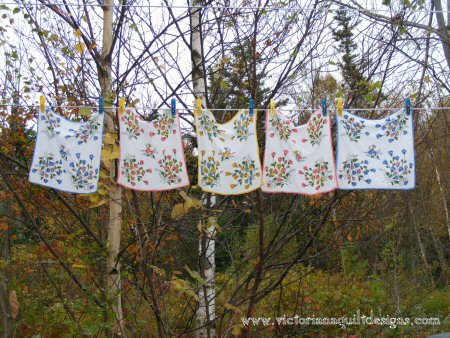
Hang to dry.
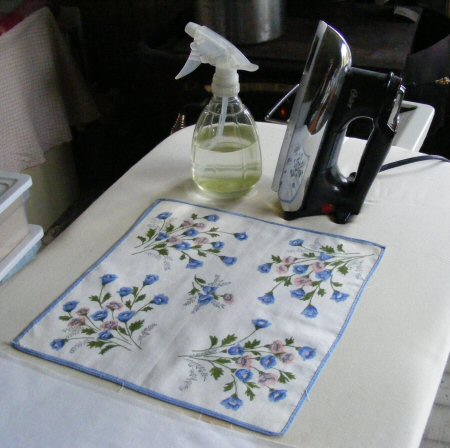
These are a set of hankies from my childhood. I used them as my Barbie sheets, which was extra special to me, because I only ever had plain white sheets on my bed growing up. :) 2. Cut [Rotary Cutting·#F] the background fabric into a 13" square. 3. Steam press the handkerchief, and clip any loose threads.
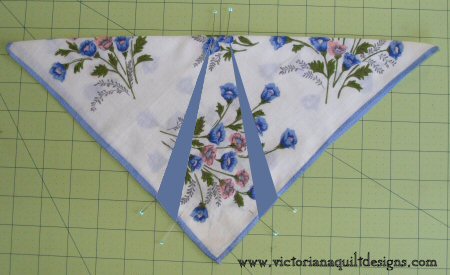
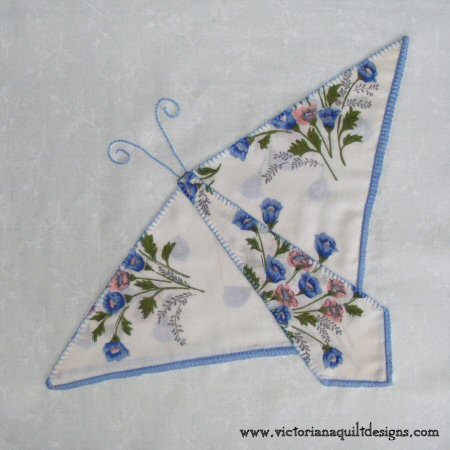
4. Fold the handkerchief in half, into a triangle.
Tip: If there is any staining you wish to hide, be careful which way you make your first fold. 5. With pins, mark the points on the hankie triangle where you will further fold.
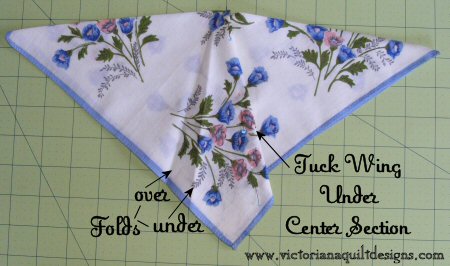
For this example, the points at the top are about ¼" from the center, and at the bottom point are 2" from the point with a 1" tuck. Tip: The width of the point can be adjusted, depending on the design of the hankie you are using. 6. Press these into folds - the outer lines over, and the inner lines under.
Adjust how the tucks look, then give the hankie butterfly a good press. 7.
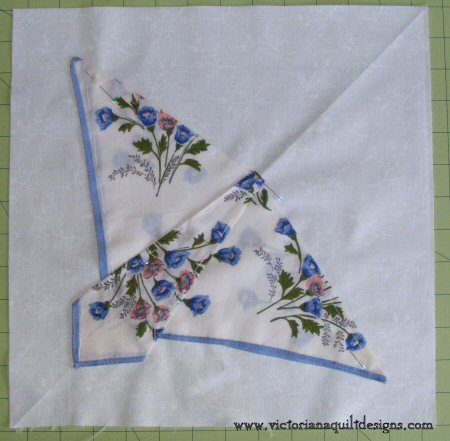
Fold the background fabric in half diagonally.
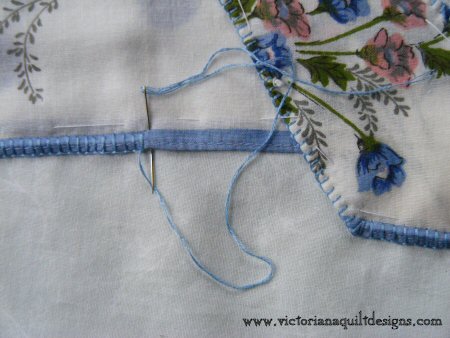
8. Using matching embroidery floss Blanket Stitch [Decorative Stitches·#1] the edges and along the folded lines of the handkerchief butterfly to the background fabric.
Using
the stitch guide for the butterfly antennae, embroider them with the
Stem Stitch (Directions included). Request the Butterfly Antennae Stitch Guide here
End
with a knot on the back of the background fabric, behind the butterfly. 9. Using the grid ruler and the rotary cutter, centre the design and trim the background fabric down, [Rotary Cutting·#G], to the unfinished size of 12½" x 12½" square.
Sign Up for the newsletter to receive the notice when something new is posted. The information you send is for our files only!
|
||
|
Content & Graphics © 2001~ Victoriana Quilt Designs All rights reserved. Unauthorized use is strictly prohibited. Welcome | Victoriana Quilters | Block of the Month | Pattern Page | Library | Membership Schoolhouse | Gallery | Sharing | Feedback & Links | Card Shoppe
|