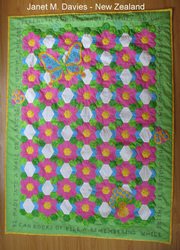
Above
is a quilt that I made which is slightly smaller in
size than a single bed. All the shapes in the central
part of the quilt have been hand stitched using the
"English Paper Piecing" method.
In this tutorial I show you how to stitch a floweret
using the method mentioned. This is a great style of
stitching you can take 'on the road' with you. I find
it great while "listening' to TV in the evenings
or while waiting for a doctors appointment.
Hexagons
are the most popular shape in "English Paper Piecing"
but there are many traditional quilt machine sewn blocks
that could be stitched in this method. Below the hexagon
tutorial I have given other shapes I have stitched in
the "English Paper Piecing" method.
There
is no such thing as 'stitch police' just the limits
you have put in your mind.... go for it.
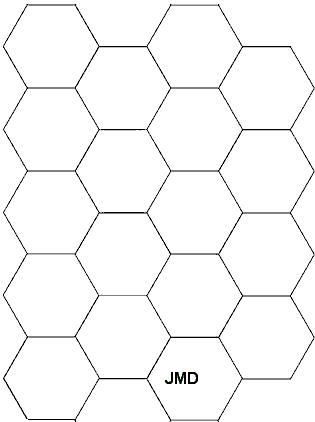
1. Cut your hexagon cardboard templates from light cardboard.
I use the cardboard weight of an average business card.
Save the above hexagon template sheet. Put it into a
word document and resize the hexagons to the measurement
you wish. Then print out onto a sheet of cardboard.
Cut out each hexagon shape. Save the document, so if
you want more templates in the future you have the right
size. You can trace 1 hexagon shape at a time onto cereal
box cardboard and cut out, but make sure each hexagon
is the exact same size.
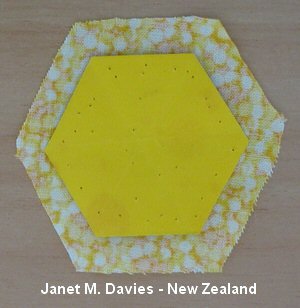
2.
Lay your cardboard template on top of fabric that has
been cut with a 1/8 inch seam allowance. Pin the cardboard
in the centre onto the fabric. As you can see from the
photo I have used the cardboard template a couple of
times before.... recycling is your friend.
3.
With any sewing cotton tack a stitch in the centre of
the template. The fold over the fabric seam
allowances and place stitches around
the edge folding over the seam
allowance as you go. Make a stitch half
way along each straight edge and at each corner. Then
make a stitch in the centre again. You do not have to
knot your thread to start and finish in the centre;
leaving a short tail of thread will hold all in place.
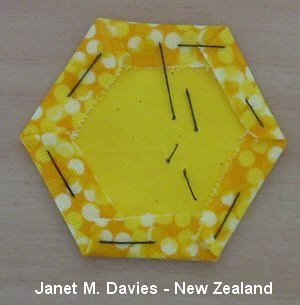
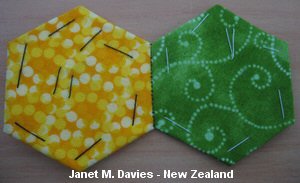
4.
The photo above shows the front of the tacked template.
I am not keen on using glues on fabric to hold templates
in place. Also with simple taking as above you can reuse
your template once ALL stitching is done.
5.
Thread some sewing cotton to match your fabric. (I have
used black for purposes of the photo.) Hold 2 templates
with right sides of the template facing inwards. At
one side corner make a couple of small knots to attach
sewing thread. Then make small stitched along that 1
matching edge, stitching the 2 fabrics together without
catching the cardboard. Stitches are made about a needle
width apart with small bites of the fabrics. The thinner
the needle the easier it will be to pick up the fabric
without picking up the cardboard also.
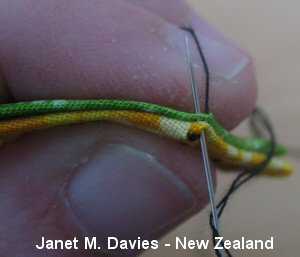
6.
Once you have stitched along 1 matching edge stitch
2 small knots to secure the thread. Then run the needle
in and out along the edge of the seam
allowance
and cut the thread.
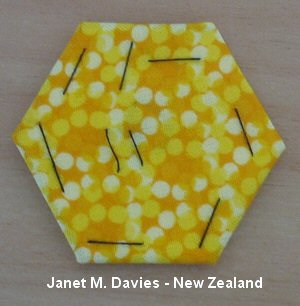
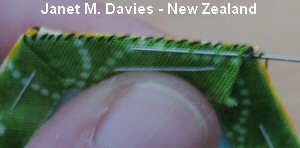
7.
The photo shows the right sides of the first templates
sewn together. Do not panic if you see small amounts
of your stitching showing from the front. Part of "English
Paper Piecing"
is the joy of celebrating hand stitching. Your friends
will be amazed when they realise it is hand sewn and
not by machine.
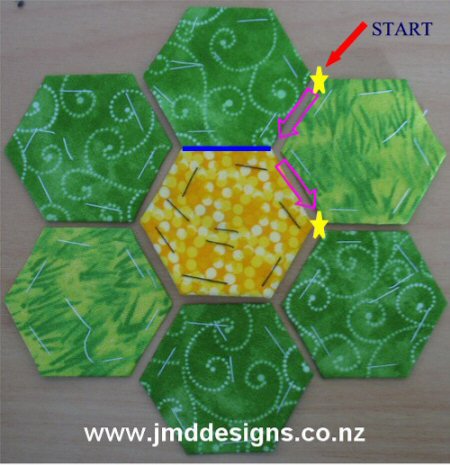
8.
The above photo shows a blue line where we have just
attached the first 2 hexagons together. Next start at
the top yellow star and stitch along that edge with
hexagon right sides together. Then turn the corner (bending
yellow template in half) and stitch down to the lower
yellow star. Finish off your thread. Proceed around
the edges of the yellow hexagon stitching 2 edges at
a time. The last hexagon in the flower will be attached
in 3 edges until your hexagon flower is complete.
9.
Do not remove your cardboard templates until all the
hexagons are stitched along the edges/sides that will
be joined together by other templates.
~~~
Non
Traditional Shapes in English Paper Piecing
Quilt blocks with straight edges can be stitched using
this method.
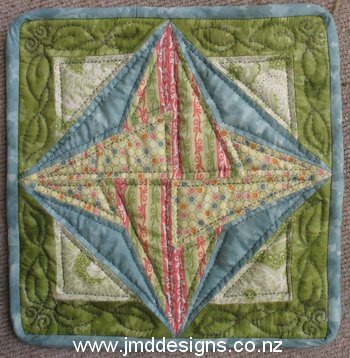
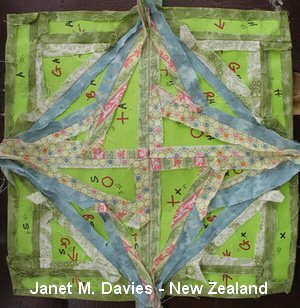
Above
is a Pot stand I made using the English Paper Piecing
method. The photo on the left shows the finished item
which I hand quilted. The photo of the right shows all
the pieces sewn with the templates still in place.
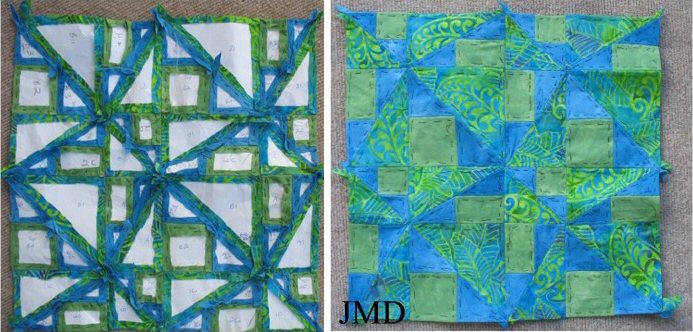
Above is 4 quilt blocks of a wall hanging I made using
the English Paper Piecing method. The photo on the right
shows the front of the 4 blocks with the templates still
attached. The photo of the left shows all the pieces sewn
with the templates still in place. I stitched 4 separated
blocks and then stitched the 4 blocks together.
To
keep track of all the exciting other stitching things
I get up to visit my site.
Janet
M. Davies
JMD
Designs
~~~
I
love your quilt Janet...Such great colours and the bonus
applique additons and the words around the edge make
it extra special! Thanks for sharing your English Paper
Piecing method with us.