 |
Click here to get to the Christmas Sweater Quilt Main Page. ~~~ Important
Note: Please read all the tips for piecing, ~~~ Below I share two versions to make the checkerboard sashing & borders, for the Christmas Sweater quilt. Version 1. Includes making
the checkerboard yourself, with strip piecing.
I share all my best tips,
to help you with yours.
Horizontal Border
Vertical Border You can find more details
about these on the ~~~ |
||||||||||||
|
~Version
1~
1. Cut the strips, for your size quilt, as instructed [Rotary Cutting~ #D + #E]. 2. Sew strip sets using a red & white fabric for each set [Strip Piecing]. Tips:
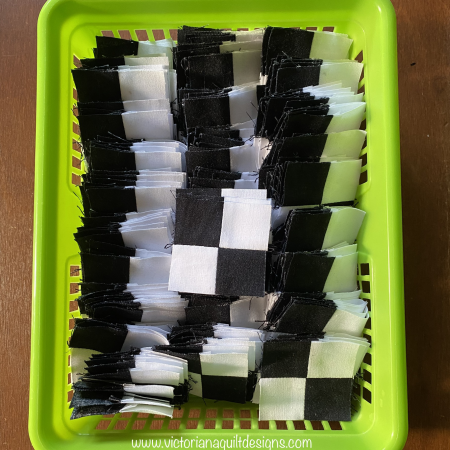
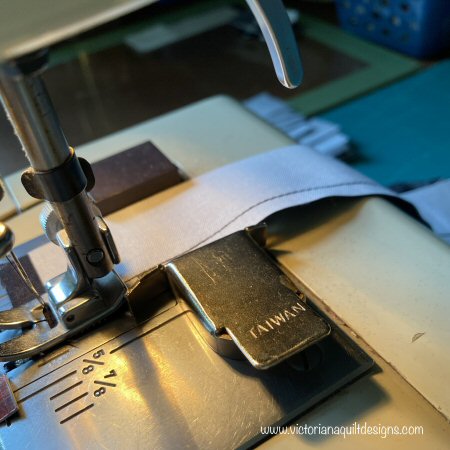
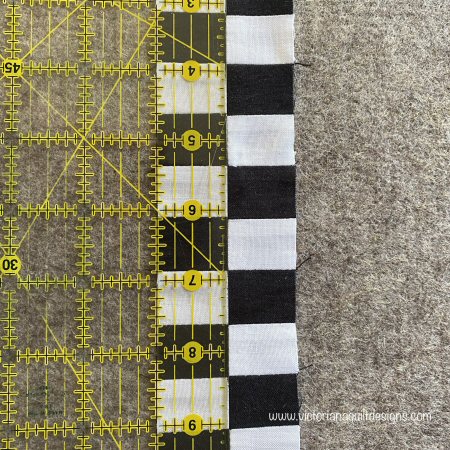
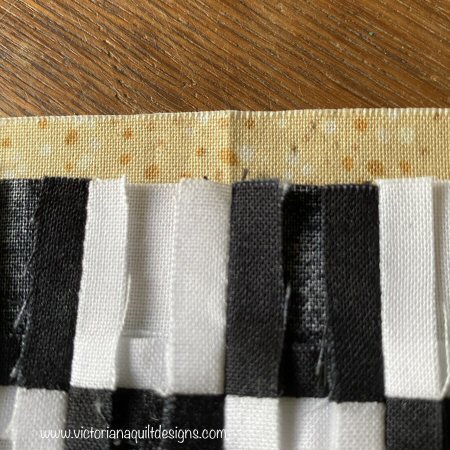
~Press the seams open, and then lay the strip set straight (use a ruler as a guide), and give it a good final press. Let it cool before you move it. 3. Cut the pressed strip sets down into 621~1½" x 2½" units (621~2" x 3½" units). Tips: 4. Pair each 2-Patch
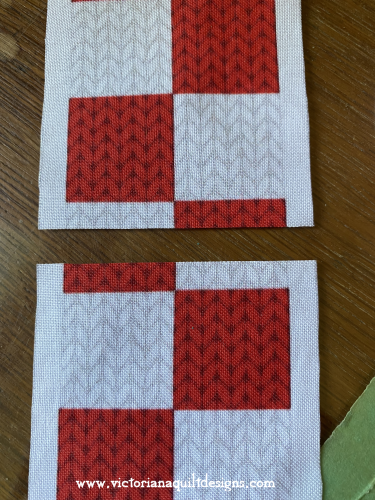
unit with another as illustrated.
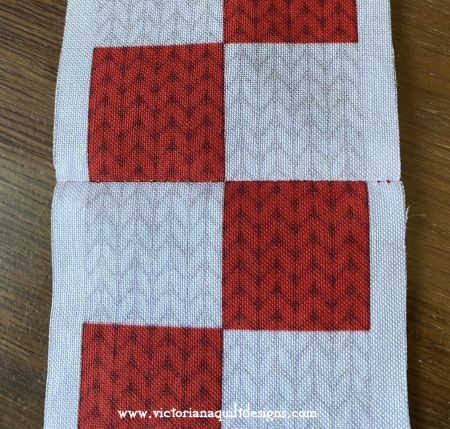
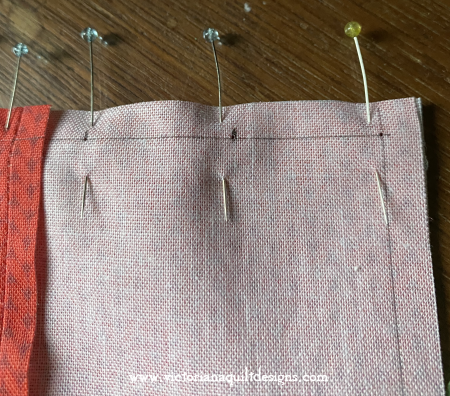
4-Patch Unit 5. Sew [Machine Piecing] the pairs together, matching the seams*. *You
will find the 'Perpendicular Pinning' tips I use for this, on the
main page (under
Tips). 6. Lay out rows of
4-Patch units, to make the following sashing:
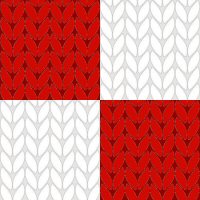
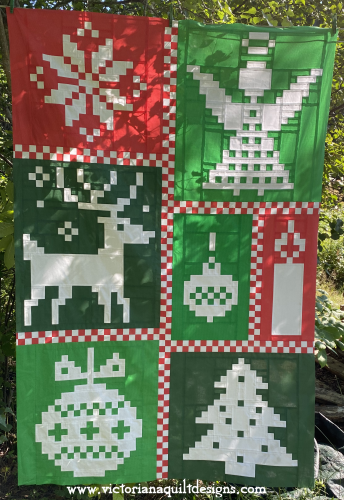
- 1 vertical sashing (between the Small Ornament & Candle blocks), beginning with the white at the top left, using 10 4-Patch units plus the leftover 2-Patch unit. - 1 horizontal sashing (between the Angel & Small Ornament/Candle blocks), beginning with the red at the top left, using 12 4-Patch units. - 1 horizontal sashing (between the Small Ornament/Candle & Christmas Tree blocks), beginning with the white at the top left, using 12 4-Patch units. - 2 horizontal sashing (one between the Snowflake & Reindeer blocks and one between the Reindeer & Large Ornament blocks), beginning with the white at the top left, using 11 4-Patch units. 7. Sew [Machine Piecing] the units together, matching the seams*. Tips:
8. Sew [Machine
Piecing] all of the sashing units you've made, between the blocks. Tip:
9. Lay out one vertical
sashing (for the center of the quilt), beginning with the red at the
top left, using 36 4-Patch units. 10. Sew [Machine Piecing] the units together, matching the seams, as before. 11. Sew [Machine
Piecing] the long center sashing unit you've made, between the
columns of blocks. Note: The remaining 218 4-Patch units will be used for the final borders. ~~~~~ ~Version
2~
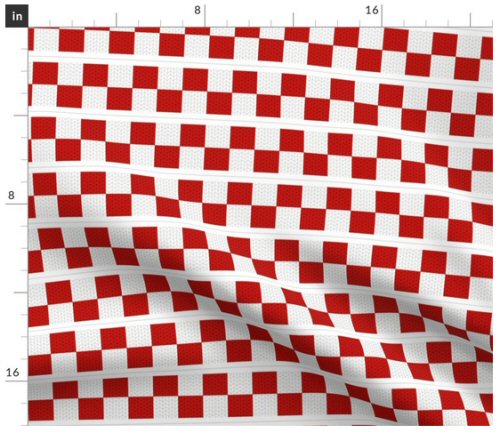
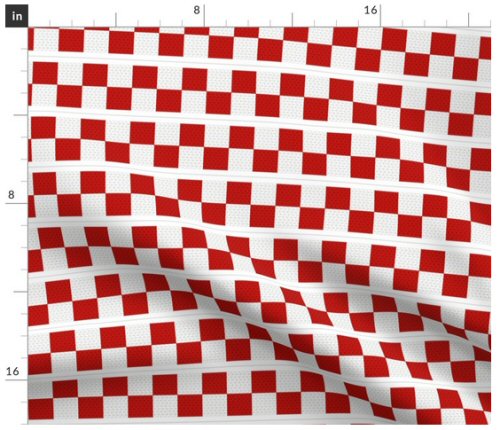
1. Cut the sashing fabrics, for your size quilt, as instructed [Rotary Cutting~ #F]: Note: The pre-printed border fabric can be cut apart using scissors, along the grey line, that divides them. - 1~2½" x 21½" (1~3½" x 32") vertical sashing, to go between the Small Ornament & Candle blocks, [beginning with the white at the top left, if using pre-printed border fabric]. - 1~24½" x 2½" (1~36½" x 3½") horizontal sashing, to go between the Angel & Small Ornament/Candle blocks, [beginning with the red at the top left, if using pre-printed border fabric]. - 1~24½" x 2½" (1~36½" x 3½") horizontal sashing, to go between the Small Ornament/Candle & Christmas Tree blocks, [beginning with the white at the top left, if using pre-printed border fabric]. - 2~24½" x 2½" (1~36½" x 3½") horizontal sashing - for one between the Snowflake & Reindeer blocks and one between the Reindeer & Large Ornament blocks, [beginning with the white at the top left, if using pre-printed border fabric]. - 1~2½"
x 72½" (1~3½"
x 108½") vertical sashing, to go between
the two columns of blocks, [beginning with the red at the top left,
if using pre-printed border fabric].
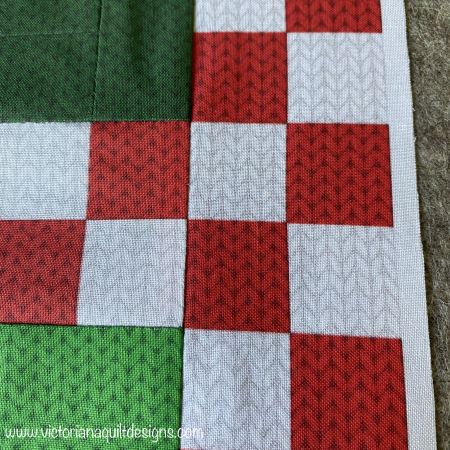
Pay attention to the colour of the squares, where you join them.
2. Sew [Machine Piecing] all of the sashing patches you've cut, between the blocks, and then the long one between the columns of blocks. Tips:
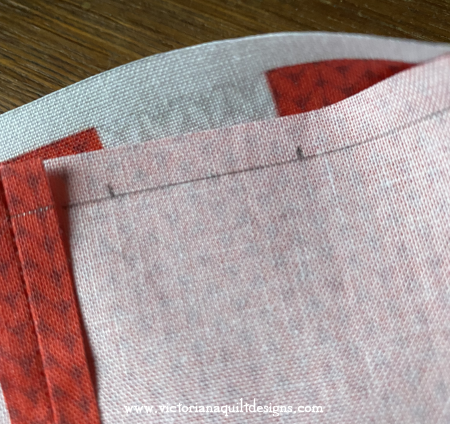
~Match up these marks with the checks on the pre-printed border, and pin in place, using the perpendicular pinning tip*.
|
|||||||||||||
|
Content & Graphics © 2001~ Victoriana Quilt Designs All rights reserved. Unauthorized use is strictly prohibited. Welcome | Victoriana Quilters | Block of the Month | Pattern Page | Library | Membership Schoolhouse | Gallery | Sharing | Feedback & Links
|
|||||||||||||

