 |
Each month, throughout
2025 - through my newsletter, I'm sharing a Scrappy Quilt Tutorial. Any instructions with [brackets], refers you to the Technique Page in the Library of this site for the complete free how-tos.
|
|||||||||
|
Finished Size: 12" x 12"
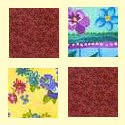
*Note: You could also use a smaller 1½" square to make 1" Postage Stamps (see tips below). 1. Cut fabrics A + B [Rotary Cutting~ #F] 2. Sew the squares into 4-Patch units, as illustrated.
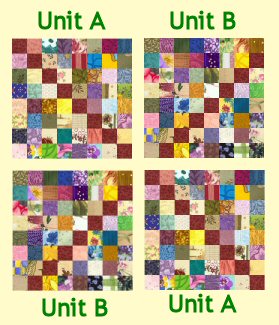
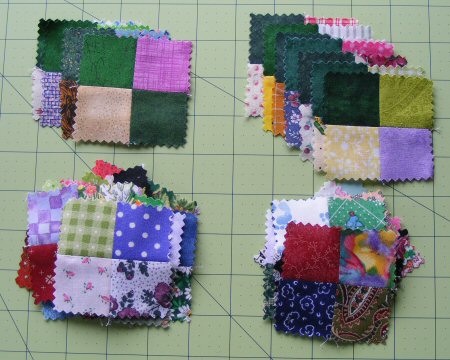
4-Patch Layout ~Sew [Machine Piecing] the units together, into pairs. ~Sew the rows together, matching the seams. For each Unit A you will need:
For each Unit B you will need:
3. Lay out each unit, as illustrated.
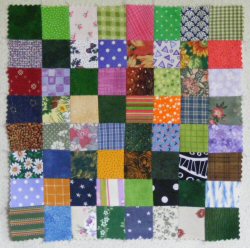
Unit Layout ~Sew [Machine Piecing] the 4-Patch units together into rows, matching the seams. ~Sew the 4 rows together matching the seams. 4. Block [Blocking]. 5. Lay out each block, as illustrated.
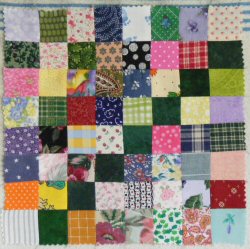
Block Layout Sew [Machine Piecing] the units together into pairs, then the the two rows together.
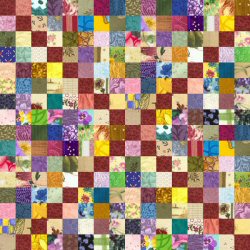
Postage Stamp with a Twist Block
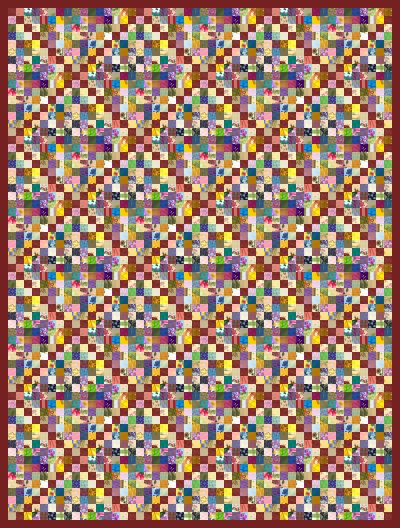
Postage Stamp with a Twist Quilt
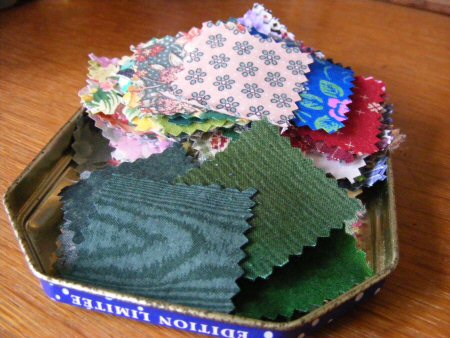
~~~ *My 1" Postage Stamp with a Twist Quilt
Using only my smallest scraps that I've saved, and a thick 1½" square cardboard template, I cut my squares by laying the cardboard on the scrap - holding it with my left hand, I then use my pinking shears to cut it to size around the edge of the template.
I then stitch them into the 4-Patch units, as described above.
And then into the Unit A & Unit B blocks
~~~
~Come Back in September for the Next Scrappy Quilt~
Sign Up for the newsletter to receive the email notice & link to the next Scrappy Quilt posted. The information you send is for our files only! ~~~
|
||||||||||
|
~Members Only~ Content & Graphics © 2001~ Victoriana Quilt Designs All rights reserved. Unauthorized use is strictly prohibited. Welcome | Victoriana Quilters | Block of the Month | Pattern Page | Library | Membership Schoolhouse | Gallery | Sharing | Feedback & Links
|


 A~ Scrap Fabric
 B~ Tone on Tone Fabric
 4~4-Patch units with two tone-on-tone squares
 12~4-Patch units with scrap squares
 7~4-Patch units with one tone-on-tone square