Hi,
I am Sachiko from Tea
Rose Home. On my blog, I share sewing, refashioning,
crafting, quilt making, thrifting and sometimes a little
bit about my family life and thoughts. Come visit me
sometime to see what I am up to. :)
Thank you Benita for having me here today, I am so excited
to share one of my projects with you! This is an inexpensive,
yet very simple project that you can do in an hour or
so.
I hope you enjoy it!
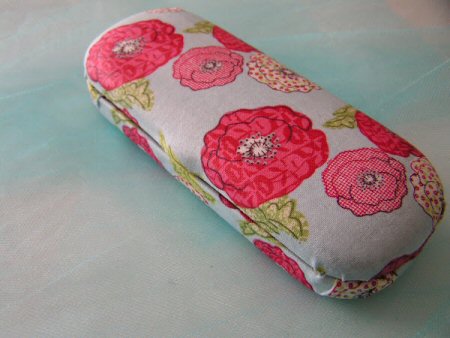
I
picked up an eyeglass case at the dollar store the other
day with the intention of making this sewing kit case
for my niece who started to show interest in sewing.
I thought she would like something like this to carry
around. :)
Because
the eyeglass case you can find might be different size
and all, I am not going to give measurements and such.
This is a brief how-to-post.
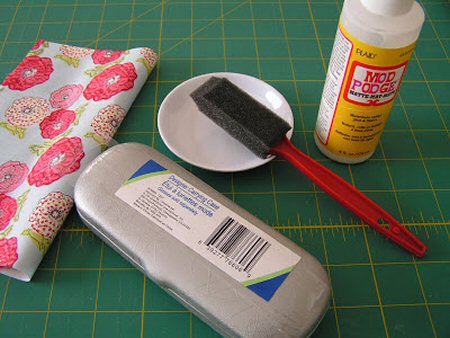

Eye
Glass Case
Fabric of your choice for outside and inside the case
Mod Podge
Sponge Brush
Ribbon to hide the hinge area
Fabric glue (or glue gun)
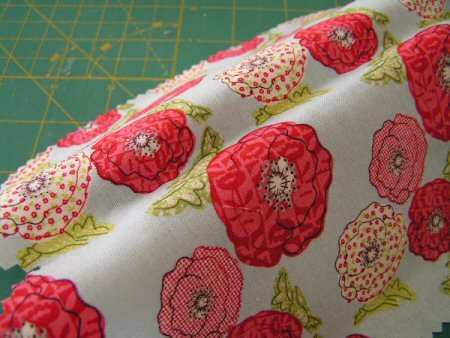
1.
Cut fabric for the inside and outside of the case. For
outer fabric, make sure that you have enough to cover
the whole thing and tuck inside the case. For inner
fabric, cut the edges with pinking shears to prevent
fraying.
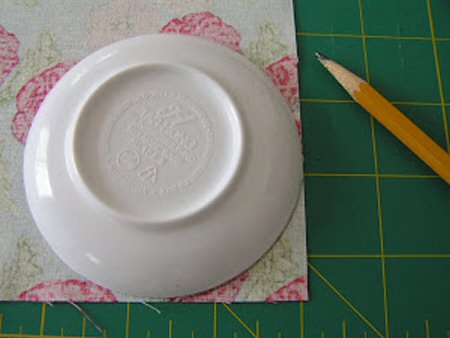
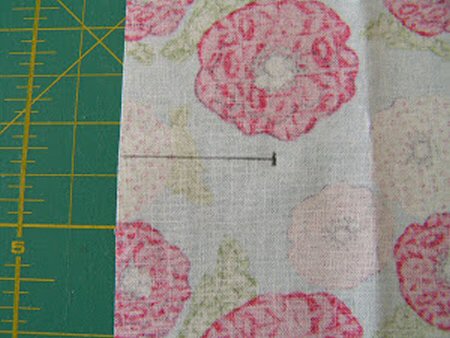
2.
It is helpful to use a small dish and such to trace
the curve and cut the corners.
Also,
fold the fabric horizontally in the middle, cut into
about an inch or so from both sides to make it easier
to hold the fabric in around the hinges.
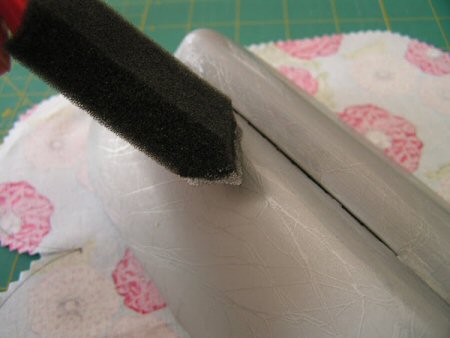
3.
Spread the mod podge onto the case evenly and carefully
place the fabric. Make sure there are no air bubbles.
Then attach the inner fabric in the same manner too.
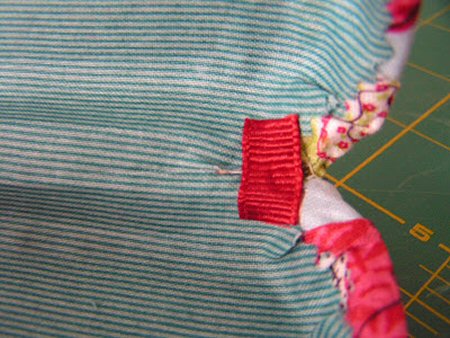
4.
I pasted small ribbons around the hinges area to hide
the "ugly" part that I couldn't get quite
right. If you don't need it, you can skip this part.
5.
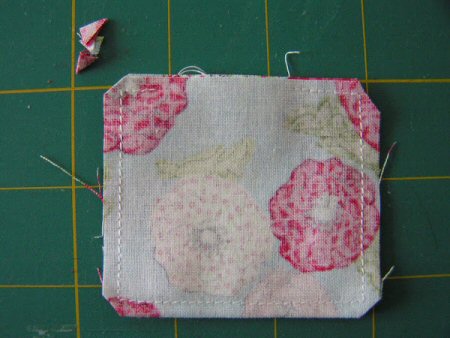
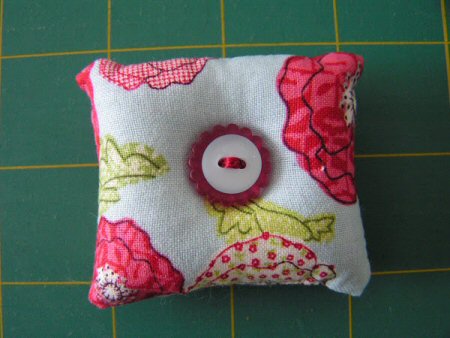
Make a small pincushion. All you need to do is measure
the inside of the case and decide how big you want the
pincushion to be. Don't forget to add an inch or so
to the measurement, when you stuff it, the length and
width will "shrink" (because it gets puffy).
Glue the pincushion inside of the case.
That's
how I made this sewing kit case.
Do
you wanna see the inside?
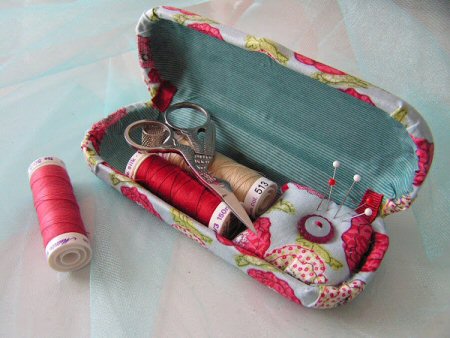
I
didn't have any plan when I was making this. I just
went with the flow. If I am going to make this again,
I think I will try to pay more close attention to the
hinge area. You don't want fabric to get bulged up around
that area, because the case won't close all the way.
I had to redo it a couple times. Keep that in mind,
but it is a fairly fun and easy project, not to mention
very cheap too! :)
~~~
Thank
You Sachiko for sharing the tutorial of how you made
your lovely sewing case!
Be sure
to visit Sachiko's site here.