 |
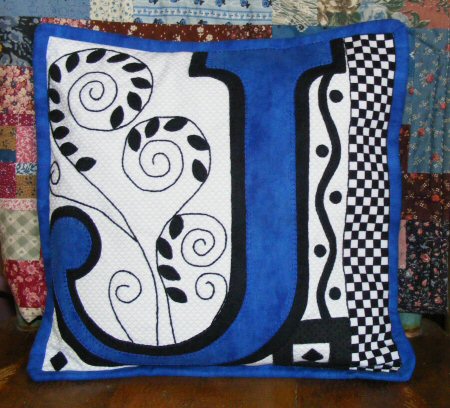
Note: Any instructions with [brackets], refers you to the Technique Page in the Library of this site for printable free how-tos. ~~~ This pillow is a nice project to make as a gift.
|
|
Tote Bag:
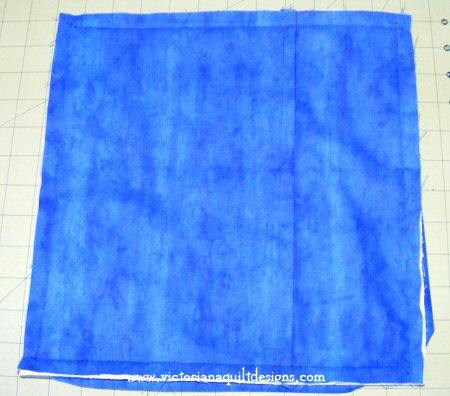
12" x 12"
White
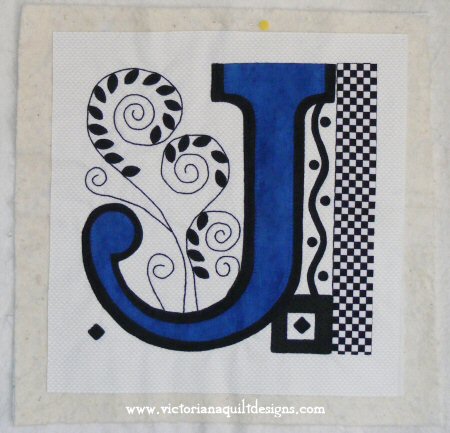
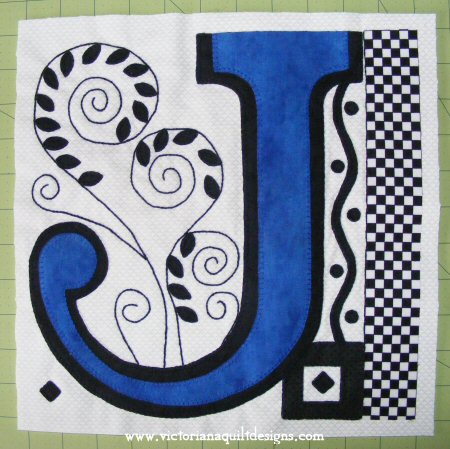
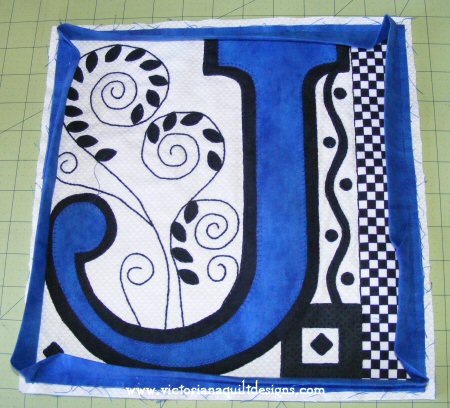
Background Fabric - Fat Quarter 1. Begin with making & quilting the Initial Block Tutorial, as instructed here (Steps #1 to #3 only).
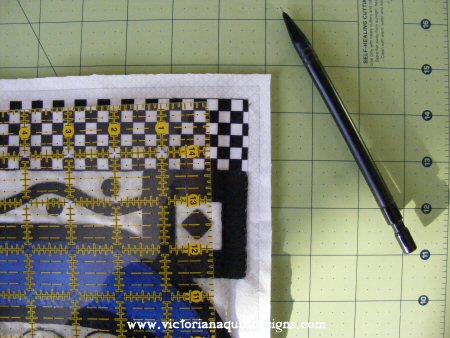
2. Trim the quilted block to ½" beyond the block edge, through all the layers. Make sure it's square.
3. Measure the trimmed
quilted block.
4. Draw a line, using
a mechanical pencil, ¼" beyond the block
edge.
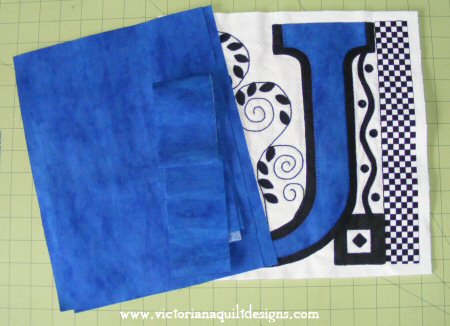
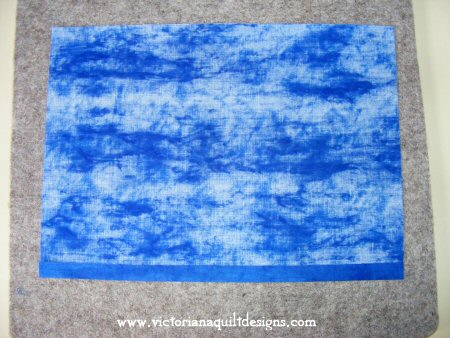
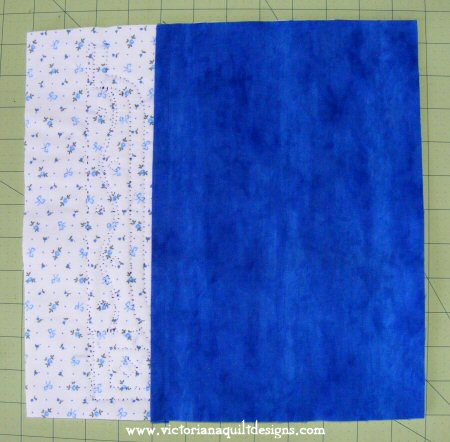
5. Cut 2-11¾" (your pillow width) x 9" for the pillow backing and 2-2½" x width of fabric strips of the favourite colour tone-on-tone fabric, for the binding. To prepare the pillow back pieces, turn under the raw edge ½", along one side of each backing piece. Press.
Turn under ½" again, press and machine stitch across. 6. Lay the quilted
block face down on a flat surface.
Place the remaining pillow back piece, right side facing up, aligning the raw edges on the left side, and the stitched edge across the center, overlapping the right side backing piece.
Pin in place around all sides. 7. Add the binding
[Binding], around the edge of the pillow cover, through all the layers,
including the backing pieces.
8. Turn the folded binding edge to the back of the pillow and stitch in place as instructed.
9. Place a 12" pillow form inside, through the back opening. |
|
|
~Members Only~ Content & Graphics © 2001~ Victoriana Quilt Designs All rights reserved. Unauthorized use is strictly prohibited. Welcome | Victoriana Quilters | Block of the Month | Pattern Page | Library | Membership Schoolhouse | Gallery | Sharing | Feedback & Links
|