 |
|
|
Any instructions with [brackets], refers you to the Technique Page in the Library of this site for printable free how-tos. WOF = Width of Fabric ~~~
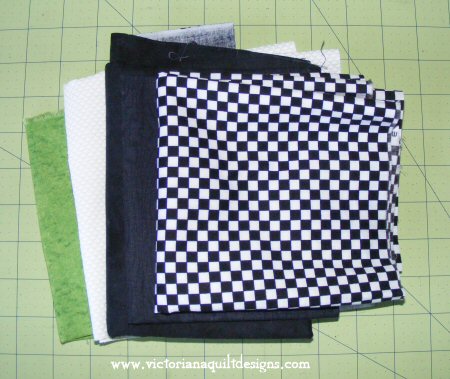
White
Background Fabric - Fat Quarter 1.
Cut the white background fabric [Rotary Cutting] 13"
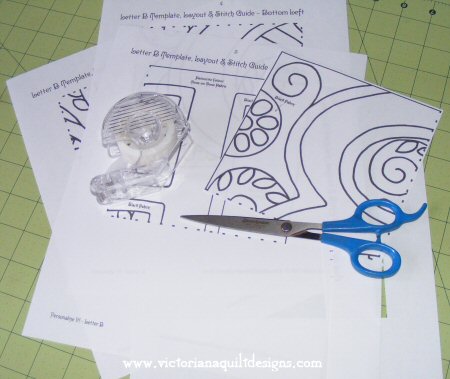
x 13". 2. Print the
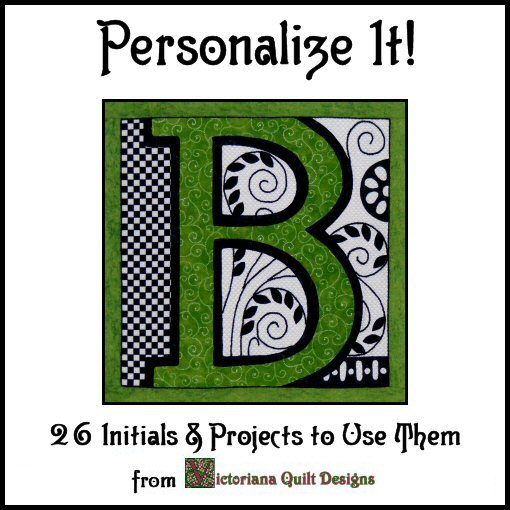
4 initial template pages.
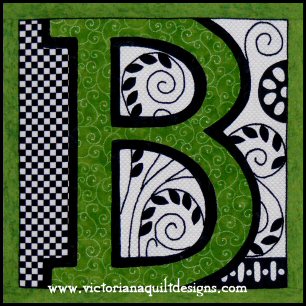
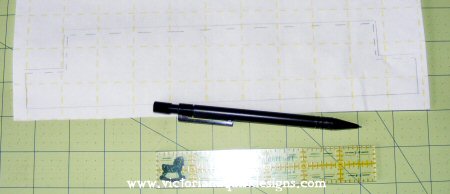
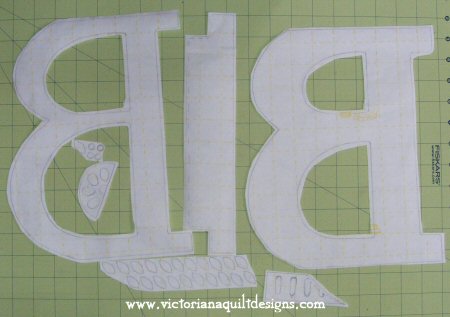
3. Using a mechanical pencil, trace the different shapes of the initial you choose, onto your fusible webbing, following the manufactures directions.
I like to use
dash lines, along the edges that will be tucked under another
shape.
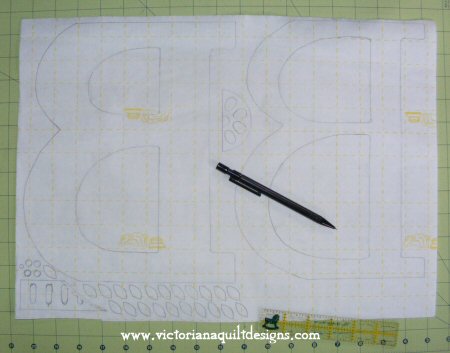
4. Trim the fusible webbing shapes, cutting them out, leaving a small edge beyond the sewing line.
Place the fusible
webbing on the back of the different fabrics you've chosen,
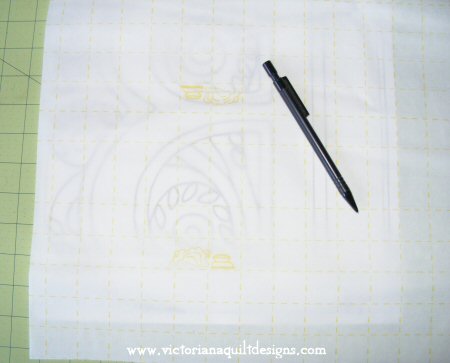
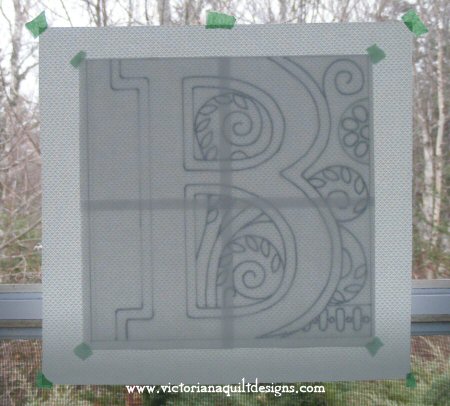
and cut the shapes. 5. Tape the
template paper up on a window, with the template flipped, so
the letter is facing the correct way.
Draw the lines
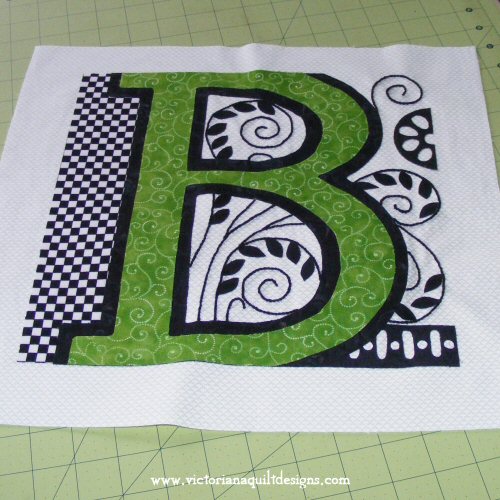
that you will be stitching. Carefully remove the block from the window, and press the fusible webbing, following the manufacturers directions. 6. Stem Stitch
the stitching lines using 6 strands of black embroidery floss.
7. Trim the block ¼" beyond the sewing line that you have drawn on the back.
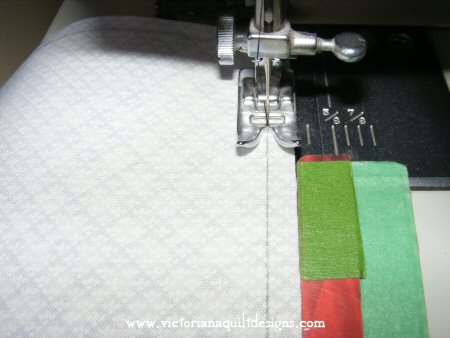
8. Cut 2-12"
x 1¼" and 2-13" x 1¼"
strips for the thin border.
Press the seam
allowances together, toward the border.
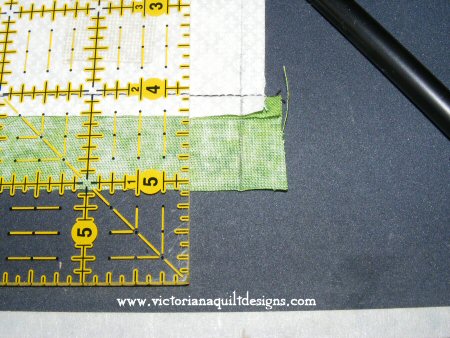
Trim the side
borders even with the block edge. 9. Trim the
borders to ¾" by aligning the ruler's
¾" line, along the stitching line.
10. Add a line of embroidery, along the edge of the block, using the stem stitch and 6 strands of embroidery floss.
My plan is to add blanket stitching, around the shapes of the initial, as my quilting. ~~~ Click
the buttons below to take you to the
~~~
~~~
~~~
Another
suggestion for using the initials to come...I hope!
~~~
Sign Up for the newsletter to receive the email notice when the new project is added. The information you send is for our files only! ~~~ |
|
|
~Members Only~ Content & Graphics © 2001~ Victoriana Quilt Designs All rights reserved. Unauthorized use is strictly prohibited. Welcome | Victoriana Quilters | Block of the Month | Pattern Page | Library | Membership Schoolhouse | Gallery | Sharing | Feedback & Links
|