 |
Note: Any instructions with [brackets], refers you to the Technique Page in the Library of this site for printable free how-tos. ~~~ This tote bag is a beautiful project to make as a gift.
|
|
Tote Bag:
12" x 18"
White
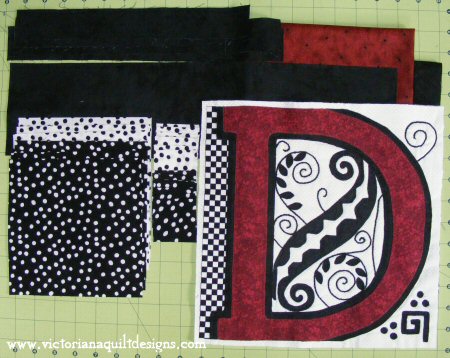
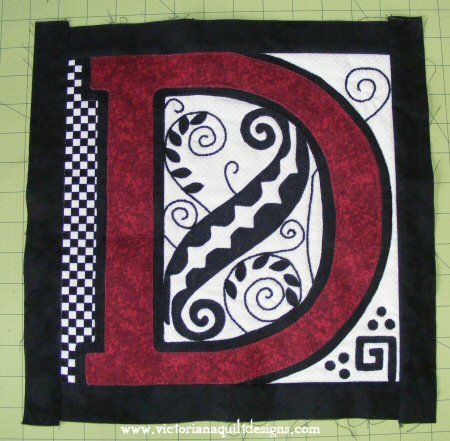
Background Fabric - Fat Quarter 1. Begin with making the Initial Block Tutorial, as instructed here (Steps #1 to #5 only). 2. Place the backing
fabric (well pressed) facing up.
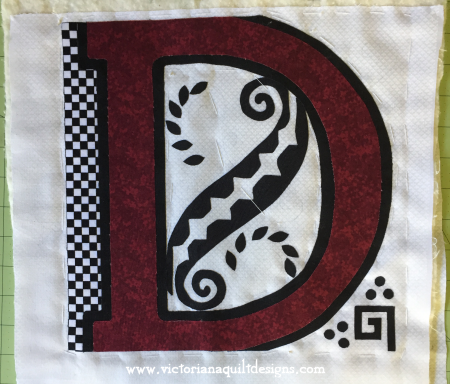
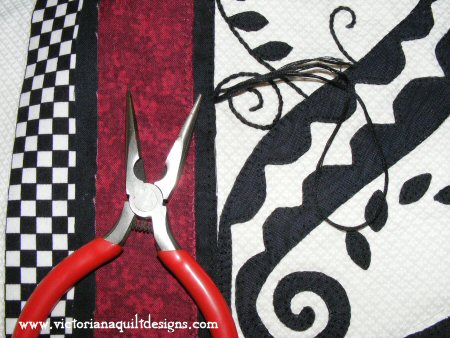
3. Quilt the layers
together by adding the Blanket Stitch [Decorative
Stitches - #1] to the edges
of the shapes on the initial, using two strands of embroidery floss,
that matches the fabric.
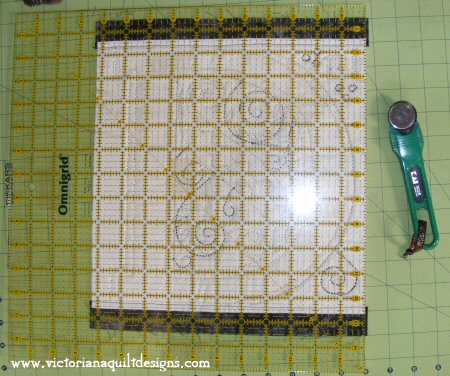
4. Trim the quilted block down to 11¼", being sure to centre the initial.
5. Cut 2-11½"
x 1½" and 2-13½"
x 1½" strips of black tone-on-tone fabric,
for the thin border around the block.
Press the seam allowances
together, toward the border.
Sew the side borders
to the block, as you did for the top and bottom borders.
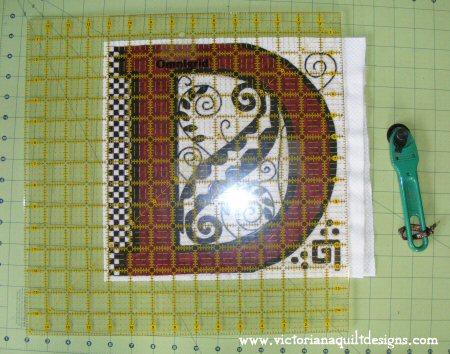
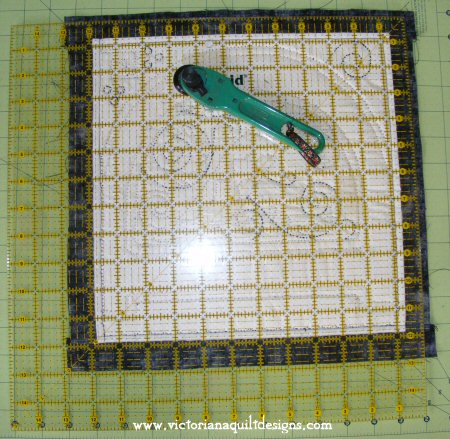
6. Trim the quilted block with the border, down to 12½", being sure to centre the initial and that the corners are square.
7.
Cut the tote bag fabrics [Rotary Cutting] as
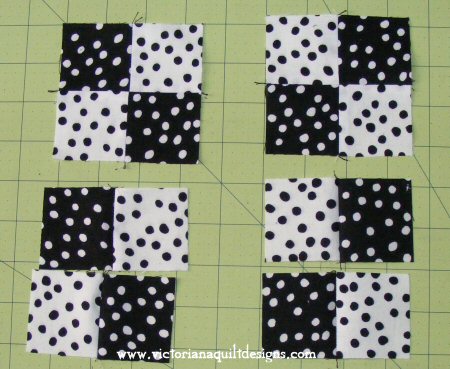
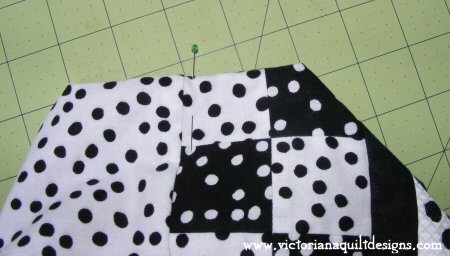
follows: 8. Sew the black
& white 2"
squares into pairs.
9. Pair each set
and sew them together into two different kinds of 4-Patch units -
one with the black square at the top left, and the second with the
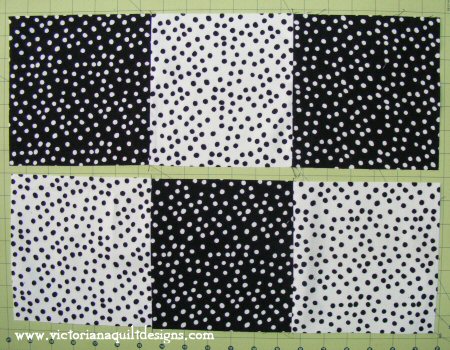
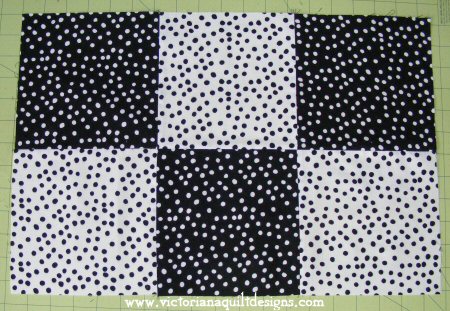
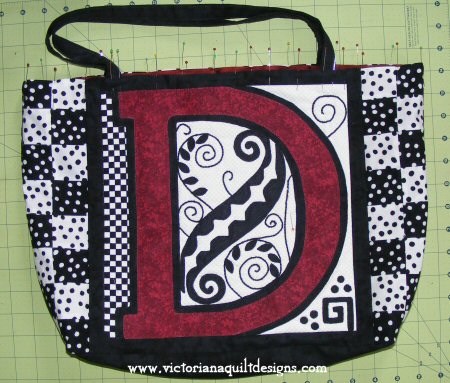
black square at the top right. 10. Sew each set of four 4-Patches together, into a column (refer to the picture of the finished bag), matching the seams. 11. Sew a 4-Patch
column unit to each side of the initial block. 12. Arrange the larger square squares of fabric into two rows of three blocks, and sew them together.
13. Sew the two rows of the larger blocks together, matching the seams.
14. Sew parts of
the outer tote bag together, beginning with the initial unit, joining
it to the black tone-on-tone bottom patch, along the long bottom edge. 15. With right-sides
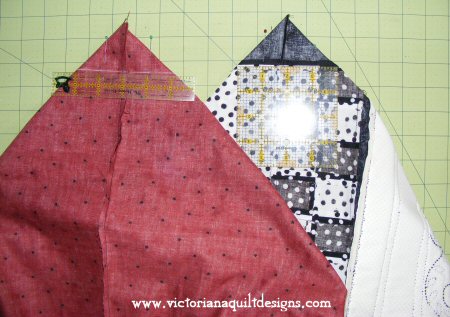
together, stitch the outer bag together along the sides. 16. Reposition both,
so the side seams and bottom fold align, giving you two points (see
below).
With a ruler find
where it measures 4" across, below the point. 17. Turn the outer
bag right-side out, and place the liner inside adjusting and matching
up the boxed corners.
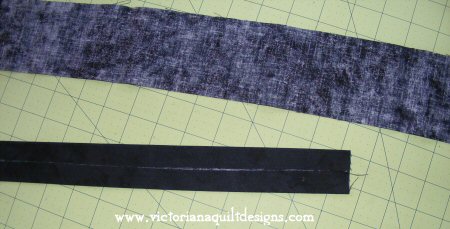
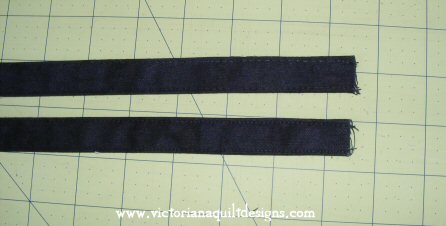
18. Prepare the handle
patches, by pressing the outer long edges in, towards the center.
19. Press the ¼" seam allowance along the top edge of the outer bag, towards the inside, all the way around.
Fold and finger press the lining to line up with the front and pin in place.
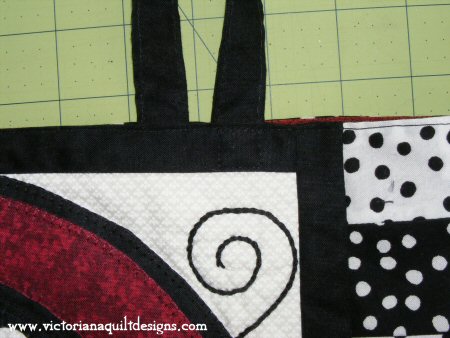
20. Place 1"
of each of the short ends of the handles, between the front and lining
of the bag, using the picture above as a guide. 21. Stitch around
the top edge of the bag.
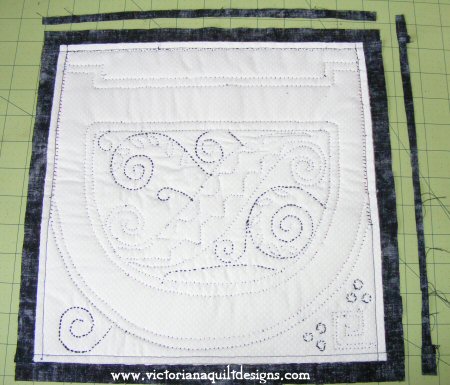
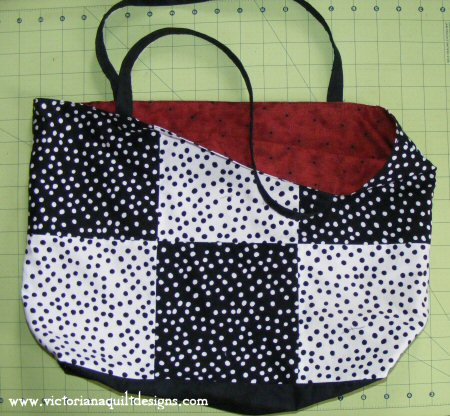
This is a view of the back of the tote bag and the inner lining.
|
|
|
~Members Only~ Content & Graphics © 2001~ Victoriana Quilt Designs All rights reserved. Unauthorized use is strictly prohibited. Welcome | Victoriana Quilters | Block of the Month | Pattern Page | Library | Membership Schoolhouse | Gallery | Sharing | Feedback & Links
|