 |
|
|
|
Any instructions with [brackets], refers you to the Technique Page in the Library of this site for printable free how-tos.
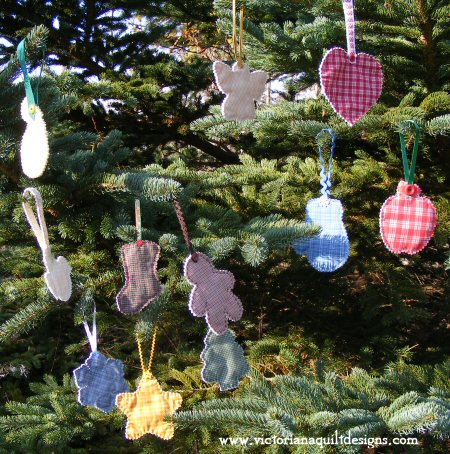
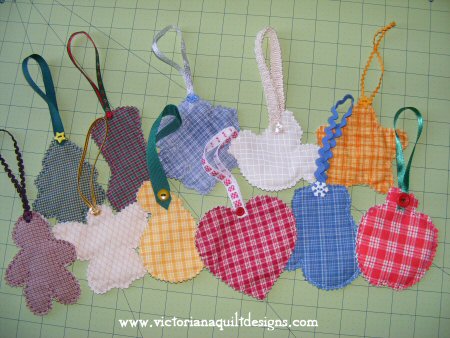
~Easy Handmade Ornaments~
If you've been receiving my newsletter over the past few years, you will know about my Quilting Design of the Month. These designs continue to be free to members. I've taken a group of these motifs and with this tutorial will share how you can make them into easy handmade ornaments! I'm offering the collection of these motifs for this tutorial, in one file as a special Thank You for Visiting Victoriana Quilt Designs. Request the Easy Handmade Ornament Templates here
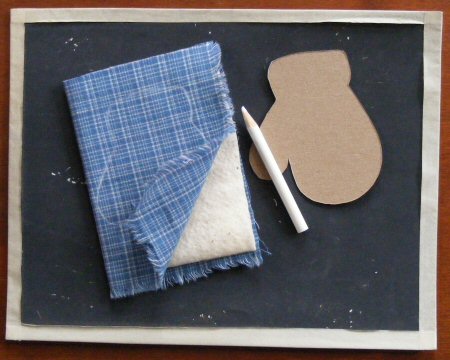
~You Will Need for Each Ornament~
Fabric for the front
& back (see Keepsake* option)
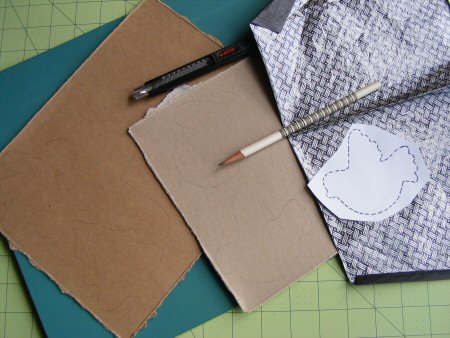
1. Make templates [Cardboard
Templates] for the different ornament shapes.
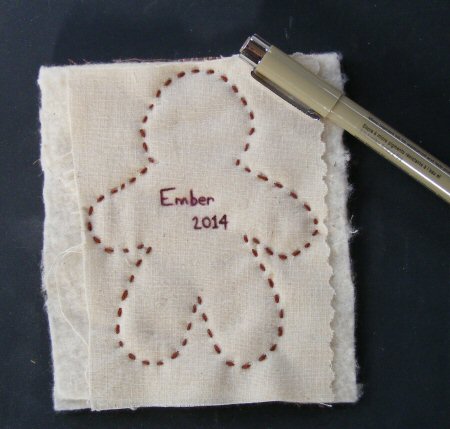
2. Draw the outline
of the shapes onto the right side of each of the front fabrics with
a chalk pencil.
3. Stitch [Stitches-#3b]
around the chalk outline, with 6 strands of matching
embroidery floss.
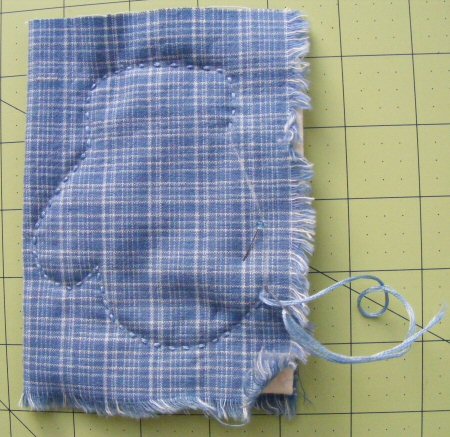
*Keepsake Option
Place plain muslin
on the backside of the design.
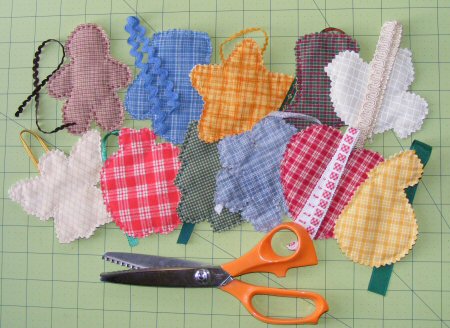
4. Trim each ornament just beyond the stitching (less than ¼"), using pinking shears.
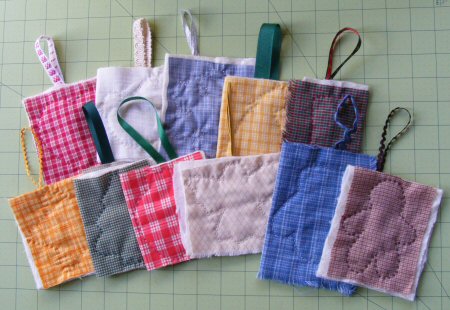
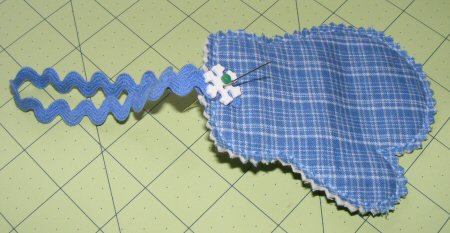
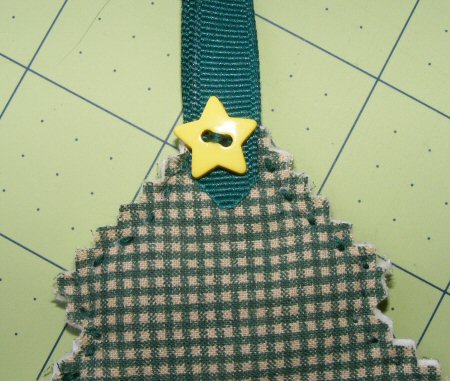
5. Attach the matching ribbon with the pair of buttons, as follows: Trim the ends of the ribbon, to match the design & button (straight across, at an angle or with a point - there are several examples in the pictures below). Fold
the ribbon in half, placing one end at the top of the front of the ornament,
and the other end along the back of the ornament. Holding these in place,
add a button under your the thumb & finger holding the ribbon ends.
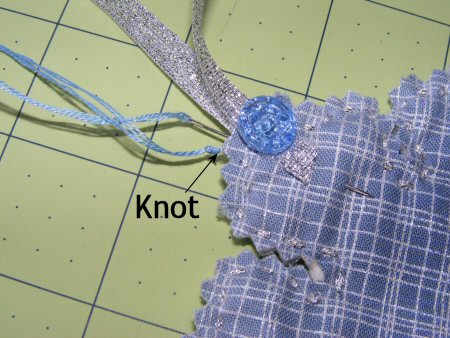
With 4 strands of
matching embroidery floss, come up from the back (hiding the knot between
the ornament & the ribbon), through one of the holes of the front
button. Bring the last stitch down and out, between the layers of batting.
Make a knot close to
the ornament.
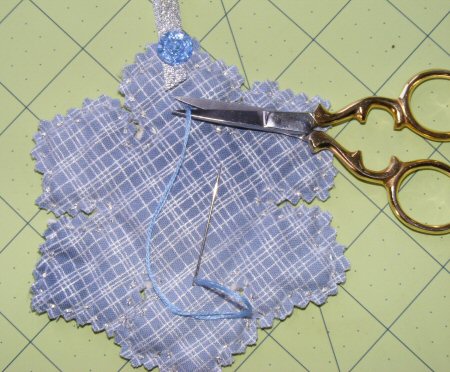
Clip the thread.
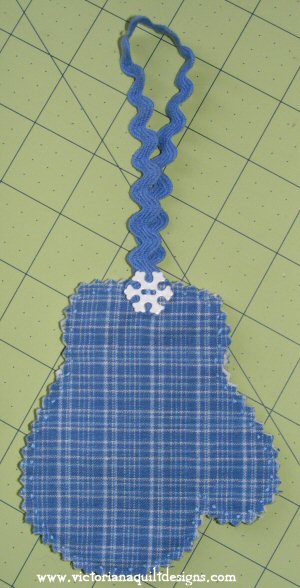
Completed Mitten Ornament
Top of Pine Tree
Completed Ornaments
Sign Up for the newsletter to receive the notice when something new is posted. The information you send is for our files only!
|
||
|
Content & Graphics © 2001~ Victoriana Quilt Designs All rights reserved. Unauthorized use is strictly prohibited. Welcome | Victoriana Quilters | Block of the Month | Pattern Page | Library | Membership Schoolhouse | Gallery | Sharing | Feedback & Links | Card Shoppe
|